首先必須說,第一次接觸pwa對這功能有點抽象,只知道他是一個可以讓你在手機或軟體run起來的技術,這過程要分兩個階段,第一個階段要讓網站可以安裝,有個前提是網站必須是https協定,所以我們要申請ssl憑證,
小弟也不是專業維運,也不想花錢,所以參考這個網站https://kkplay3c.net/ssl-for-free/
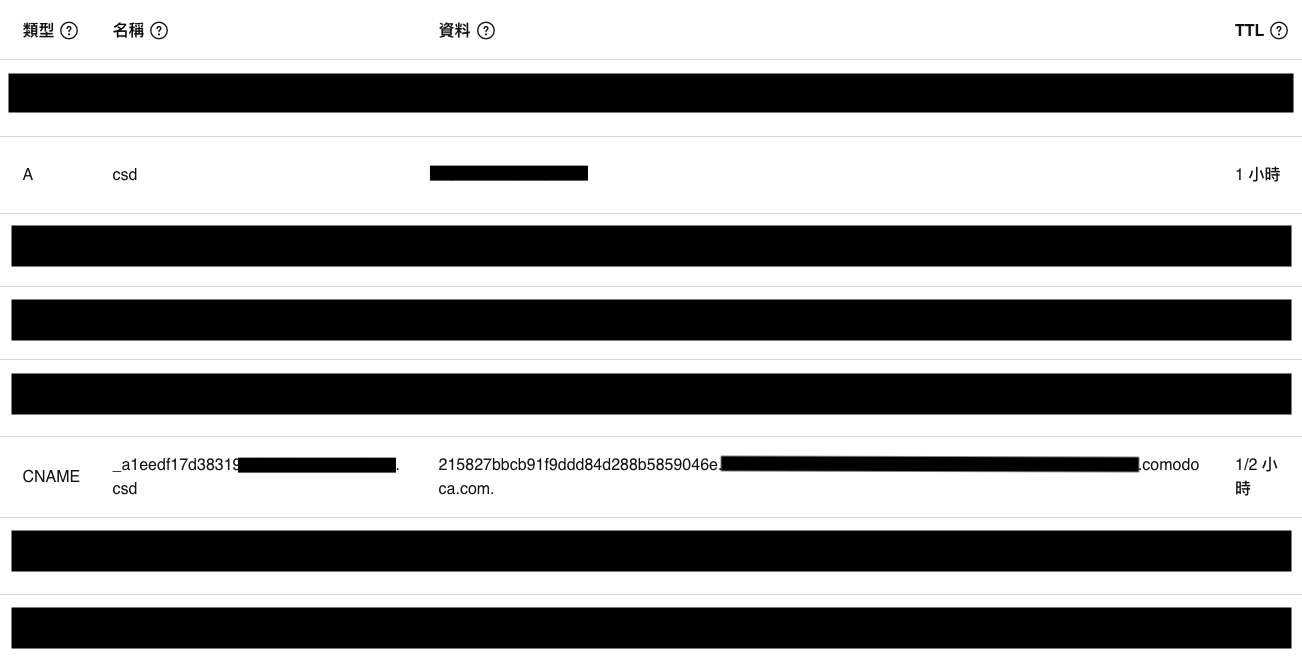
這時你還需要一個domain,這也不難,上godaddy買一個就好了,但因為一些原因,所以我用了一個正在使用的domain,盡到管理dns後,用A新加了一個subdomain,然後使用CNAME來進行dns認證,設定完大概就如下圖,CNAME TTL時間有限制3600以下
由於的前端伺服器是用http-server架,所以走https很快,下個參數就好了,指定一下cert就搞定了
再來就是manifest.json跟service-worker.js了,還有一個registerServiceWorker.js(不過這個通常cli當初會自動幫你產生,不過重新寫一個也沒這麼難拉)
要由webpack專案產出前兩個檔案(沒錯你不用從頭到尾自己寫,後面我會說為什麼不能自己寫),現在你需要的是@vue/cli-plugin-pwa,裝完你就可以在vue.config.js裡面加上pwa後開始撰寫,寫完大致上如下
pwa: {
appleMobileWebAppCapable: "yes",
appleMobileWebAppStatusBarStyle: "black",
// 自己寫service-worker.js所以用InjectManifest,自動生成可以用GenerateSW
workboxPluginMode: "InjectManifest",
workboxOptions: { // 其餘globPatten...都已經預設好了
swSrc: "src/service-worker.js", // 指定路徑
},
manifestOptions: {
name: "hellpPWA",
description: "Hello world",
},
},
但這邊說明一下,本地測試是讀不到自定義service-worker.js的,打開chrome devtools,可以看到service-worker.js有註冊,但點進去內容卻不是自己所寫的內容
這時不用慌裝,build完,在嘗試把server run起來就會看到了,連cache也產生了
最後來說一下service-worker.js內容
話說中間一度找到google有推出workbox-cli可以透過配置產出service-worker,但vue-cli打包已經會幫忙整理出靜態檔了,再加上service-worker有些內容需要客製化,所以這個方法作罷
//下面這行在build後會自動被注入,內容包含worker class,靜態資料陣列
importScripts("/precache-manifest.f3a4893d64f1a024f6a4c41422ee032a.js", "https://storage.googleapis.com/workbox-cdn/releases/4.3.1/workbox-sw.js");
// cache前綴
workbox.core.setCacheNameDetails({ prefix: "CSD" })
// 取得cache name
const cacheVersion = workbox.core.cacheNames.precache
self.__precacheManifest = [].concat(self.__precacheManifest || [])
// 把靜態資料檔寫入快取
workbox.precaching.precacheAndRoute(self.__precacheManifest, {})
// service-worker安裝
self.addEventListener("install", (event) => {
console.log("[ServiceWorker] Install")
self.skipWaiting()
// 把靜態資料寫入快取(手動)
// event.waitUntil(
// caches.open(cacheVersion).then((cache) => {
// console.log("[ServiceWorker] Caching app shell")
// return cache.addAll(self.__precacheManifest)
// })
// )
})
// service-worker啟動
self.addEventListener("activate", (event) => {
console.log("[ServiceWorker] Activate")
// 移除其他cache
event.waitUntil(
caches.keys().then((keyList) => {
return Promise.all(
keyList.map((key) => {
if (key !== cacheVersion) {
return caches.delete(key)
}
})
)
})
)
})
// ajax時觸發
self.addEventListener("fetch", (event) => {
// console.log("[ServiceWorker] fetch")
// GET時調用
if (event.request.method == "GET") {
// console.log(event.request)
const isOnline = navigator.onLine
event.respondWith(
// 快取比對
caches.match(event.request).then(function (resp) {
return isOnline
// 在線優先使用api
? fetch(event.request).then(function (response) {
return caches.open(cacheVersion).then(function (cache) {
cache.put(event.request, response.clone())
return response
})
})
// 離線使用快取資料
: resp
})
)
}
})
以上都完成就可以在網址列看到下載按鈕拉
小結:
整套寫完下來,service-worker感覺更像是一種攔截機制,其大多數重點還是在於快取,雖然一般情況使用自動生成的service-worker已經很夠用,但我遇到這個案子比較特殊,需要再無網路環境下運行,所以有些細節要自己寫,這也讓我有機會稍稍深入研究,無論是api的快取或是靜態檔案的快取(即便有網路速度也會更快),感覺有點像是本地cdn,或許還有更多可能性我沒有用到或想到,總之也是個很有趣的經驗,不僅學會pwa也第一次申請了ssl憑證,以此作一下紀錄。
備註:
網路上有說pwa只能運行在https或localhost環境,https確定是可以,但我在試localhost常會莫名失效,最後build完用http-server run起來,又可以了,好吧~早點睡吧~


